
You always get a free address like yourkennel.dogly.ca. If you own a domain such as yourkennel.com, your site can live there instead, which looks more professional and is easier for customers to remember. There is no extra charge.
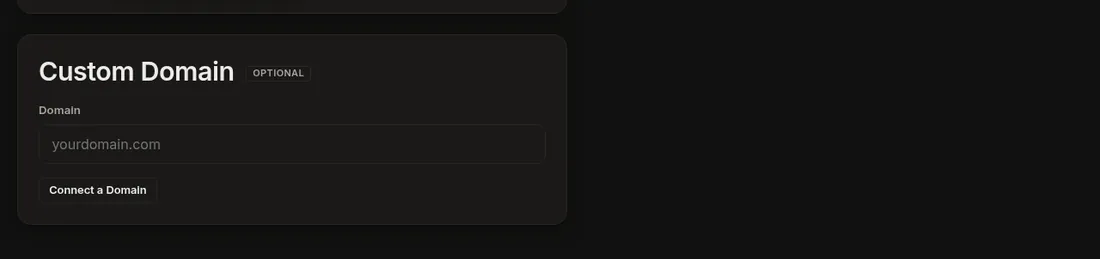
- Go to Settings → Website & search and find Custom Domain.
- Type your domain without
https://, for exampleyourkennel.com, and press Connect a Domain. A message says the domain was saved. - The panel now shows two DNS records to add: a TXT record that proves you own the domain, and an A record that points the domain at your site. It also shows an optional CNAME record for
www. Use the values shown there. - Add them at the place you manage your domain. See How to add DNS records.
- Wait. Dogly checks about every 15 minutes. The status next to Current domain goes from pending_dns to verified with a green tick, and within roughly the next 15 to 60 minutes your site goes live on your domain with a secure padlock.
Good to know
- When it works, your old yourkennel.dogly.ca address redirects to your domain, so Google only sees one site.
- If the records are not found within about 7 days the status becomes failed. Fix the records, then type your domain again and press Update Domain to start a fresh 7 days.
- Typed the domain wrong? Enter the right one and press Update Domain. It starts over safely.
- To go back, press Disconnect this domain. Your site keeps working on its free address.
If it does not work
- The most common cause is a record typed in the wrong box. See the examples in the DNS guide.
- Remove any older A record for the same name that points somewhere else.
- If you use Cloudflare, set the A record to DNS only (grey cloud) until the site is verified, or use the My domain is on Cloudflare: add these for me option in the Custom Domain panel.
- Still stuck after a few hours? Open a ticket under Dogly Support with your domain name and where you manage DNS.
Related: What about www? and Send emails from your own address.