
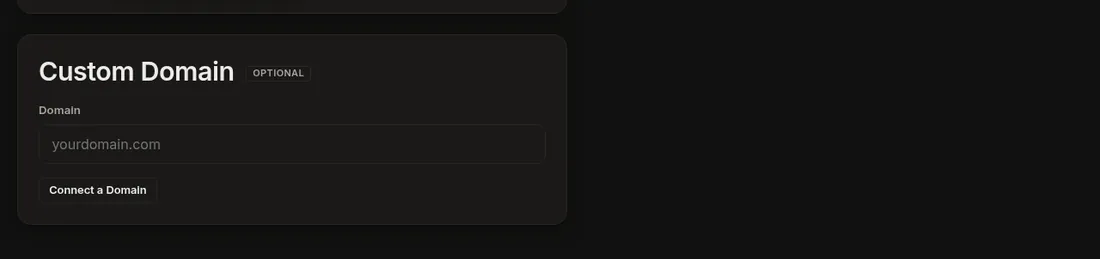
DNS records are the address book for your domain. They tell the internet where your website lives. Dogly shows you a few records to add when you connect a domain, and this page shows how to add them wherever your domain is managed.
That place is usually where you bought the domain, but it can be somewhere else if you moved it (for example Cloudflare). If you are not sure, look up your domain on a "whois" site and check the nameservers. They name the company in charge.
The same three steps everywhere
- Sign in and open your domain's DNS settings. It may be called DNS management, DNS records or Advanced DNS.
- Press Add record.
- Choose the Type (TXT or A), fill in Name (sometimes called Host) and Value (sometimes called Points to, Content or Data), and save.
The Name box
This is where most people get stuck. Many registrars add your domain on the end for you, so type only the part before it.
- For a record on the bare domain, the Name is usually @.
- For
_domain-verify.yourkennel.com, type only_domain-verify. - For
mailjet._domainkey.yourkennel.com, type onlymailjet._domainkey. - If a box already shows your domain after it, do not type the domain again.
The Value box
Copy and paste exactly. For TXT records, some places want quote marks and some add them for you. If one way fails, try the other. Keep the value on one line with no extra spaces.
Where to look
- GoDaddy: My Products → your domain → DNS → Add New Record.
- Namecheap: Domain List → Manage → Advanced DNS → Add New Record.
- Cloudflare: your domain → DNS → Records → Add record. Set A records to DNS only (grey cloud).
- Squarespace Domains / Google Domains: Domains → your domain → DNS → Custom records.
- Others: look for "DNS", "Name servers" or "Zone editor".
How long it takes
Usually a few minutes, sometimes a few hours. For your website, Dogly re-checks about every 15 minutes on its own. For email records, press Check now as often as you like.
Careful with email
If your domain already receives email (Gmail, Microsoft 365 and so on), do not delete any records you did not add. Only add the ones Dogly shows. Your existing email keeps working.
Related: Connect your own domain and Send emails from your own address.